[Swift] SwiftUI Push Notifications(FCM) APN(APNS) 푸쉬알림 예제

Firebase Cloud Messaging/Google Cloud Messaging(FMC/GCM)
Google Cloud Messaging(GCM)이 Firebase Cloud Messaging(FCM)으로 변경되었다.
2021년부터 무료로 사용할 수 있는 Android, iOS 및 웹 애플리케이션 용 메시지 및 알림을 위한 크로스 플랫폼 클라우드 솔루션
APN/APNS(Apple Push Notification/Apple Push Notification Service)
타사 응용 프로그램 개발자가 Apple 장치에 설치된 응용 프로그램으로 알림 데이터를 보낼 수 있도록 Apple 에서 만든 플랫폼 알림서비스
APNs에서 디바이스로 보내기 원하는 메시지를 받고, 이곳에서 메시지의 신뢰도를 검사해서 device앱으로 푸쉬알림을 보내주게 됩니다.
Apple 기기로 알림을 보내려면 APNs는 필수이며 FCM과 같이 사용하는 경우 Apple Develop에서 key를 등록하고 APN 인증키를 받아서 FCM 설정에 넣어줘야합니다.
참고하면 좋을만한: https://dongminyoon.tistory.com/47?category=419821
프로젝트에서 Firebase를 활성화합니다. (https://github.com/firebase/firebase-ios-sdk.git)

xcode 12
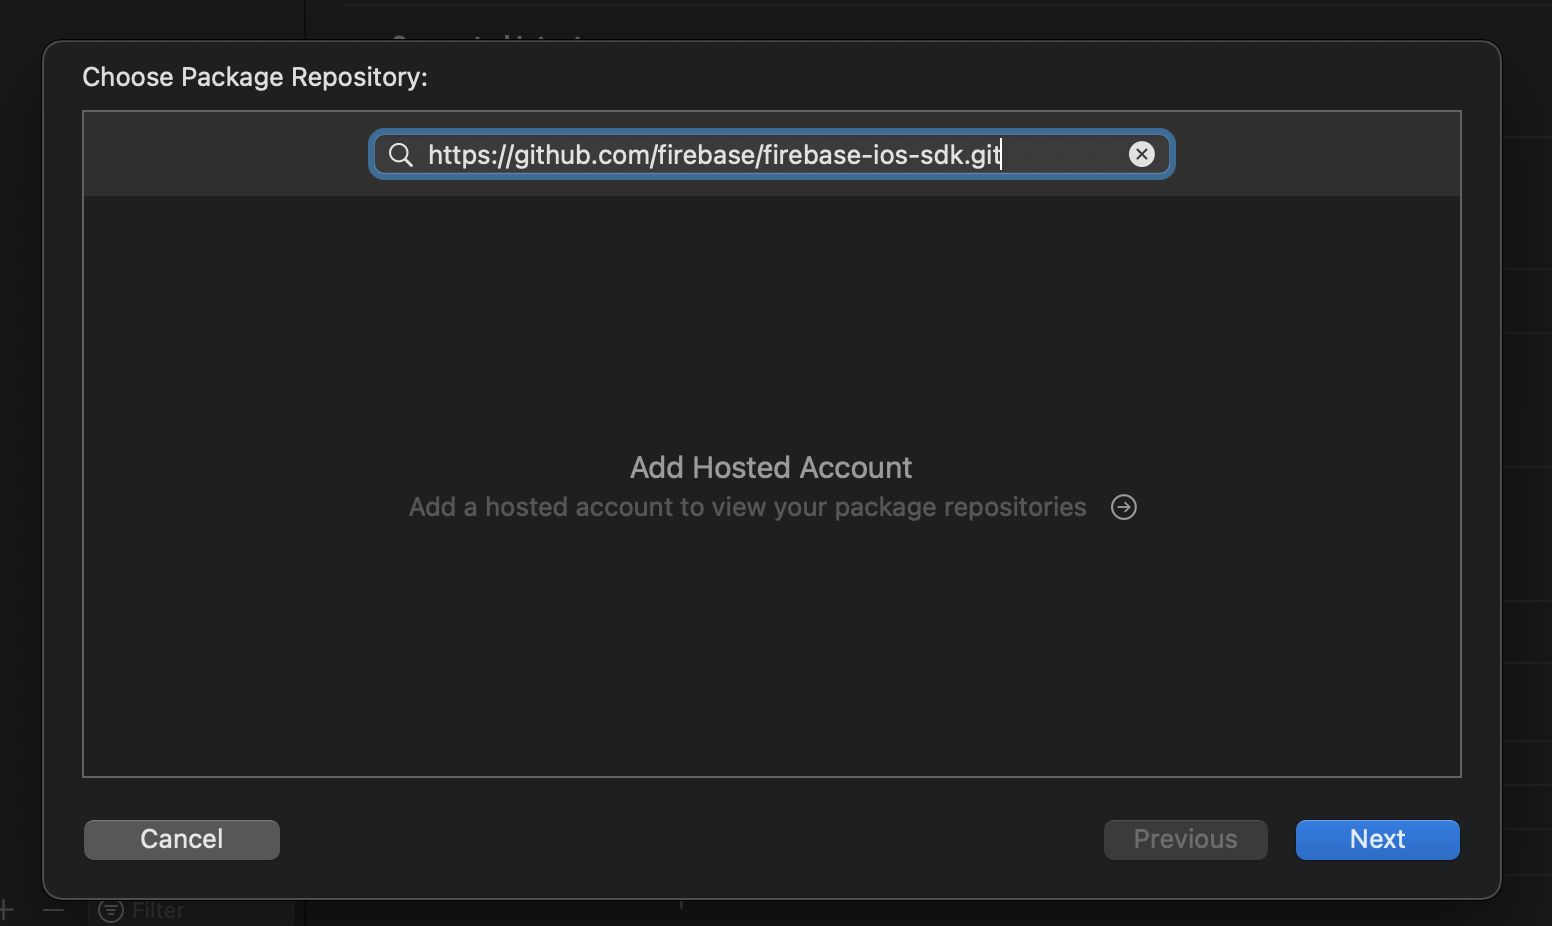

bigsur에서 계정 추가하려하니 실패하여서 xcode 12 -> 13으로 업데이트 후 진행하면 된다고 하였으나 실패하였습니다.
그래서 Monterey로 업데이트하니 정상적으로 계정을 추가할 수 있엇습니다.
xcode 13부터는 UI가 변경되어서 화면이 다르게 보입니다.


프로젝트에 추가할 패키지 FirebaseAnalytics library와 FirebaseMessaging library를 선택합니다.
Apple Develop https://developer.apple.com/account 로 이동 하여 개발자 계정에 액세스후 키를 생성합니다.
Apple Develop 개발자 계정으로 서비스를 이용하려면 연 129,000을 내고 등록해야합니다.
회사가 있으면 팀계정으로 가능합니다. 저는 그냥 질렀습니다.
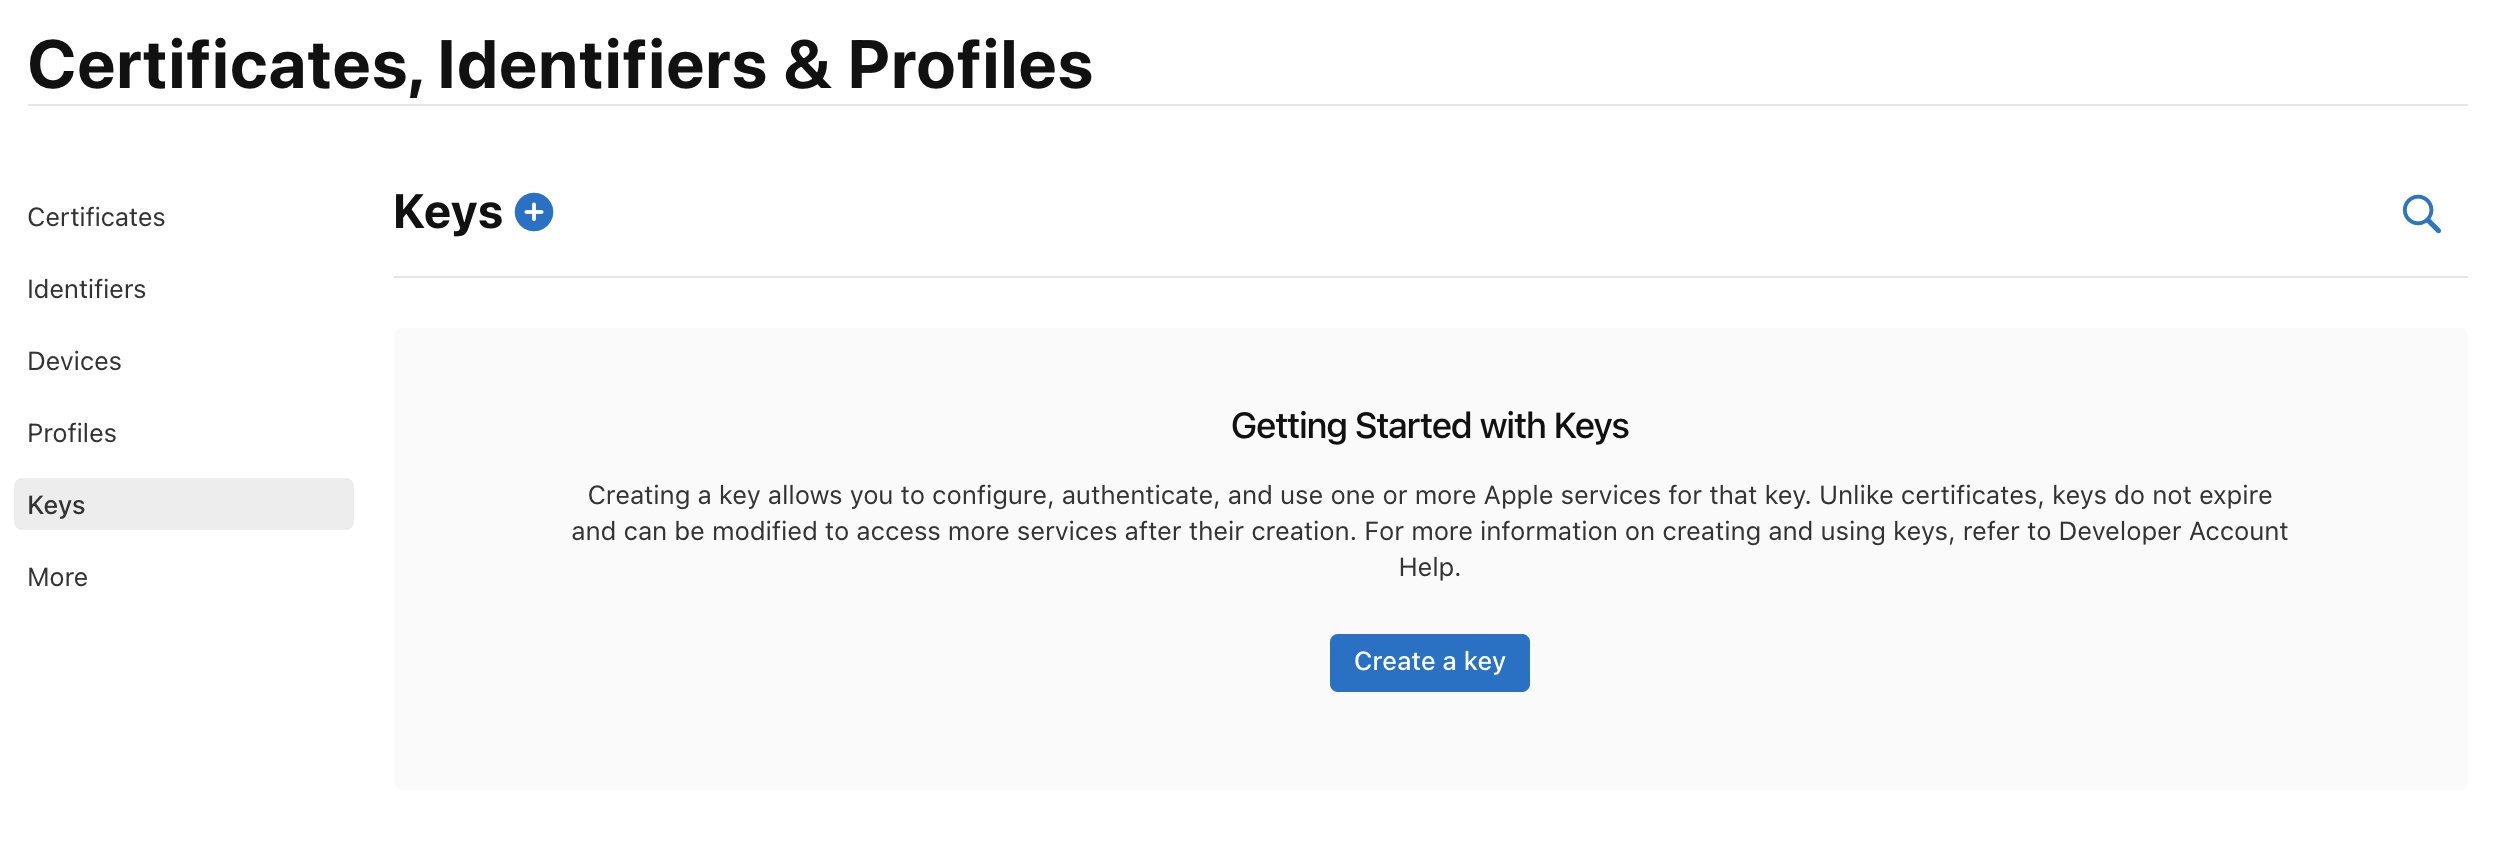


파이어베이스 콘솔에서 APN 인증 키를 업로드 해야하니 등록 후 download합니다. 확장자는 .p8 입니다.
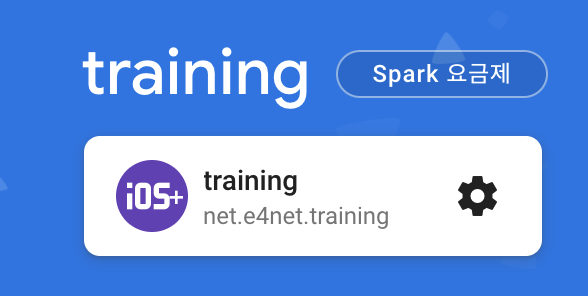
파이어베이스 콘솔(https://console.firebase.google.com/)로 이동하여 프로젝트 생성합니다.

커서 올리면 설정화면 이동할 수 있는 아이콘이 표시됩니다.
클라우드 메시징 탭으로 이동합니다.
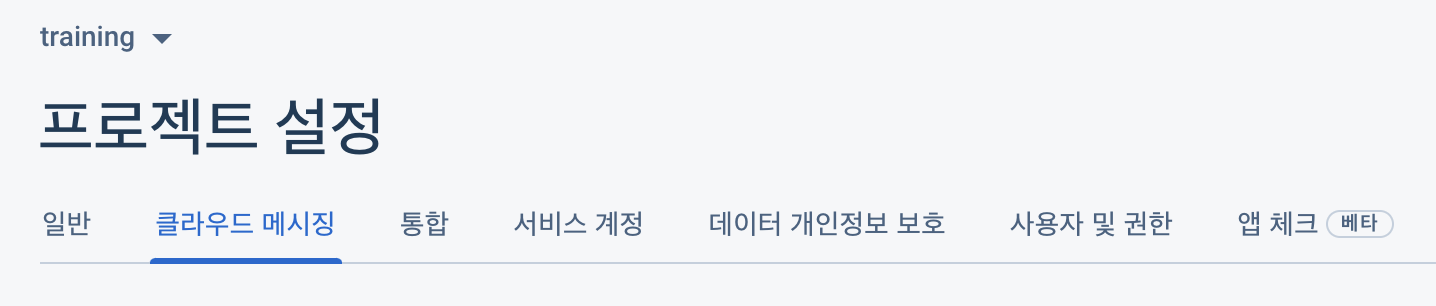
APN 인증 키를 업로드 해야합니다.

APN 인증 키는 방금 Apple Develop에서 다운로드 .p8 파일을 업로드 해줍니다.
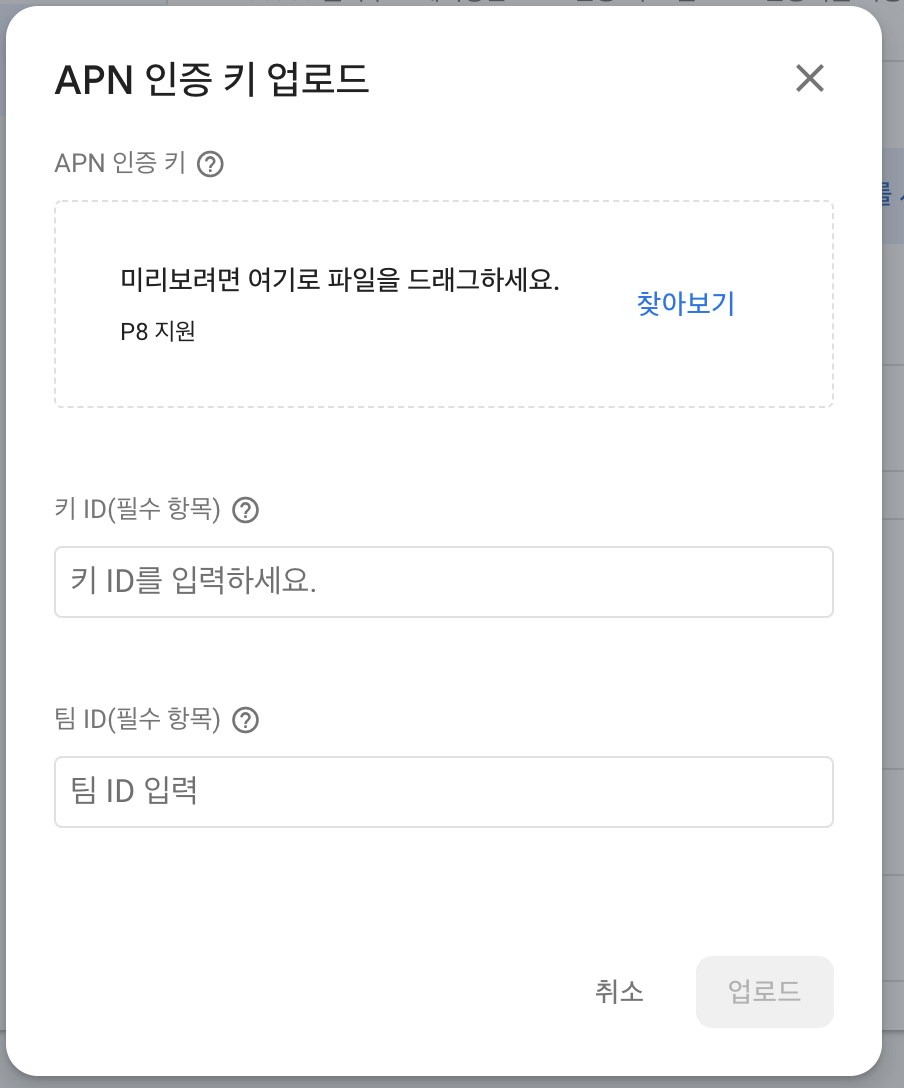
키 ID는 https://developer.apple.com/account/resources/authkeys/list 에서 아까 만든 Key로 들어가면 Key ID가 있습니다.

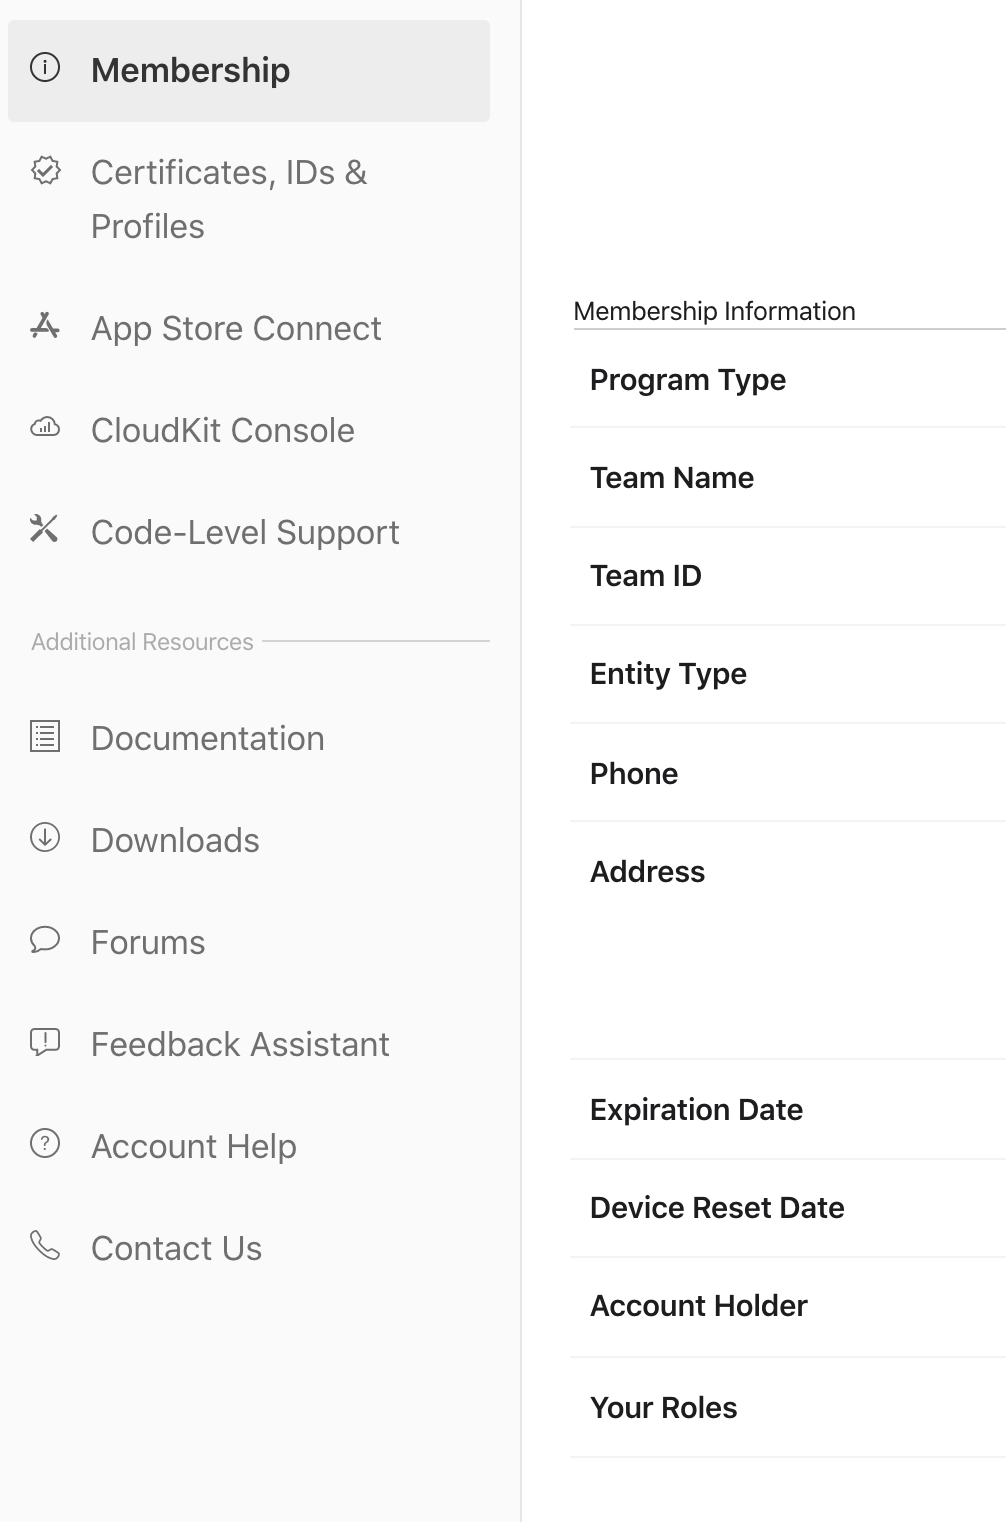
팀ID는 Account에서 https://developer.apple.com/account/ 에서 Membership에 있습니다.
이제 프로젝트에 기능을 추가하여야 합니다.
Xcode>PROJECT +Capability 클릭하여 Background Modes를 선택합니다.

Background fetch(백그라운드 가져오기)와 Remote notifications(원격 알림)을 선택합니다.

Xcode>PROJECT +Capability 클릭하여 Push Notifications도 선택하여 줍니다.

만일 이 작업을 하지 않으면
Error in application:didFailToRegisterForRemoteNotificationsWithError: 응용 프로그램을 위한 유효한 'aps-environment' 인타이틀먼트 문자열을 찾을 수 없습니다.
라는 오류를 확인할 수 있습니다.

파일 2개가 생성되었습니다.


GoogleService-info.plist 를 Project폴더에 넣습니다.

시뮬레이터에서는 작동하지 않기 때문에 아이패드와 아이폰으로 테스트 하였습니다.
파이어베이스 콘솔로 다시 이동하여 클라우드 메시징으로 이동 후 새 알림을 선택합니다.

간단하게 알림제목, 알림텍스트 을 적어줍니다. 후 테스트 메시지 전송을 클릭합니다.

AppDelegate.swift
import SwiftUI
import Firebase
import UserNotifications


// APN == APNS (Apple Push Notifications Service)
// 타입 또는 프로토콜이 적용되는 플랫폼 및 OS를 나타냄, iOS 10 이상, #available과는 다르게 컴파일타임에 경고 또는 오류를 생성
@available(iOS 10, *)   // iOS 10 이상에서만 호출할 수 있는 함수들 정의 가능
extension AppDelegate : UNUserNotificationCenterDelegate {  // UNUserNotificationCenterDelegate: 수신 알림 및 알림 관련 작업을 처리하기 위한 protocol(interface)

    func userNotificationCenter(_ center: UNUserNotificationCenter,
                                willPresent notification: UNNotification,
                                withCompletionHandler completionHandler: @escaping (UNNotificationPresentationOptions) -> Void) {
        print("앱이 포그라운드에서 실행되는 동안 도착한 알림을 처리하는 방법")
        let userInfo = notification.request.content.userInfo
        if let messageID = userInfo[gcmMessageIDKey] {
            print("Message ID: \(messageID)")
        }

        if let data1 = userInfo[data1Key] {
            print("data1: \(data1)")
        }

        if let data2 = userInfo[data2Key] {
            print("data2: \(data2)")
        }

        if let apsData = userInfo[aps] {
            print("apsData : \(apsData)")
        }
        // Change this to your preferred presentation option
        completionHandler([[.banner, .badge, .sound]])
    }

    func application(_ application: UIApplication, didRegisterForRemoteNotificationsWithDeviceToken deviceToken: Data) {
        print("앱이 APNS에 성공적으로 등록되었음을 대리자에게 알림")
        Messaging.messaging().apnsToken = deviceToken
    }

    func application(_ application: UIApplication, didFailToRegisterForRemoteNotificationsWithError error: Error) {
        print("APNS가 등록 프로세스를 성공적으로 완료할 수 없어서 대리인에게 전송되었음")
    }

    func userNotificationCenter(_ center: UNUserNotificationCenter,
                                didReceive response: UNNotificationResponse,
                                withCompletionHandler completionHandler: @escaping () -> Void) {
        print("전달된 알림에 대한 사용자의 응답을 처리하도록 대리인에게 요청합니다.")
        let userInfo = response.notification.request.content.userInfo

        if let messageID = userInfo[gcmMessageIDKey] {
            print("Message ID from userNotificationCenter didReceive: \(messageID)")
        }
        completionHandler()
    }
}

extension AppDelegate: MessagingDelegate {
    func messaging(_ messaging: Messaging, didReceiveRegistrationToken fcmToken: String?) {
        print("messaging")
        let deviceToken:[String: String] = ["token": fcmToken ?? ""]
        print("Device token: ", deviceToken) // This token can be used for testing notifications on FCM
    }
}


class AppDelegate: NSObject, UIApplicationDelegate {
    let gcmMessageIDKey = "gcm.message_id"
    let aps = "aps"
    let data1Key = "DATA1"
    let data2Key = "DATA2"

    func application(_ application: UIApplication, didFinishLaunchingWithOptions launchOptions: [UIApplication.LaunchOptionsKey : Any]? = nil) -> Bool {
        print("대리인에게 실행 프로세스가 거의 완료되었으며 앱을 실행할 준비가 되었음을 알림")
        // 파베 설정
        FirebaseApp.configure()

        //(Messaging: FIRMessaging)의 인스턴스에게 FCM 토큰 새로 고침 및 FCM 직접 채널을 통해 수신된 원격 데이터 메시지를 처리하도록 위임
        Messaging.messaging().delegate = self // MessagingDelegate

        if #available(iOS 10.0, *) {    // 해당 버전을 포함하여 그 이상의 버전 if iOS 10.0 이상
            print("ios 10 이상의 버전임")
            // For iOS 10 display notification (sent via APNS)
            // (앱 또는 앱 확장에 대한 알림 관련 작업을 관리하기 위한 중앙 개체).(앱 또는 확장자에 대한 공유 사용자 알림 센터 개체를 반환).(들어오는 알림 및 알림 관련 작업을 처리하는 개체) = self
            UNUserNotificationCenter.current().delegate = self

            // 취소승인옵션, [경고를 표시하는 기능, 앱의 배지를 업데이트 하는 기능, 소리를 재상하는 기능]
            let authOptions: UNAuthorizationOptions = [.alert, .badge, .sound]

            // 로컬 및 원격 알림이 사용자의 장치로 전달될 때 사용자와 상호 작용할 수 있는 권한 부여를 요청.
            UNUserNotificationCenter.current().requestAuthorization(
                options: authOptions,
                completionHandler: {_, _ in })
        } else {    // iOS 10.0 미만
            // UIUserNotificationSettings는 iOS 10부터는 사용하지 않으니 UNNotificationSettings를 사용하라고 명시되어있음
            let settings: UIUserNotificationSettings =
            UIUserNotificationSettings(types: [.alert, .badge, .sound], categories: nil)

            // 사용자에게 알리기 위해 선호하는 옵션을 등록
            application.registerUserNotificationSettings(settings)
        }
        // Apple 푸시 알림 서비스를 통해 원격 알림을 수신하도록 등록
        application.registerForRemoteNotifications()
        return true
    }

    func application(_ application: UIApplication, didReceiveRemoteNotification userInfo: [AnyHashable: Any],
                     fetchCompletionHandler completionHandler: @escaping (UIBackgroundFetchResult) -> Void) {
        print("가져올 데이터가 있음을 나타내는 원격 알림이 도착했음을 앱에 알림")

        if let messageID = userInfo[gcmMessageIDKey] {
            print("Message ID: \(messageID)")
        }
        print("userInfo : ", userInfo)
        completionHandler(UIBackgroundFetchResult.newData)
    }
}- UNUserNotificationCenterDelegate : 수신 알림 및 알림 관련 작업을 처리하기 위한 인터페이스
- protocol의 method를 사용하여 알림에서 사용자가 선택한 작업을 처리하고 앱이 포그라운드에서 실행될 때 도착하는 알림을 처리합니다. 개체에서 이러한 method를 구현한 후 해당 개체를 공유 개체의 속성에 할당합니다. UNUserNotificationsCenter 개체의 대리자 속성에 해당 개체를 할당합니다. UNUserNotificationsCenter 개체는 적절한 시간에 대리자의 method를 호출합니다.
- * 앱 실행을 완료하기 전에 대리자 개체를 UNUserNotificationsCenter 개체에 할당해야 합니다. 예를 들어 iOS 앱에서는 앱 대리자의 application(_:willFinishLaunchingWithOptions:) 또는 application(_:didFinishLaunchingWithOptions:) method에 할당해야 합니다. 시스템에서 이러한 방법을 호출한 후 대리자를 할당하면 수신 알람을 놓칠 수 있습니다.
- protocol의 method를 사용하여 알림에서 사용자가 선택한 작업을 처리하고 앱이 포그라운드에서 실행될 때 도착하는 알림을 처리합니다. 개체에서 이러한 method를 구현한 후 해당 개체를 공유 개체의 속성에 할당합니다. UNUserNotificationsCenter 개체의 대리자 속성에 해당 개체를 할당합니다. UNUserNotificationsCenter 개체는 적절한 시간에 대리자의 method를 호출합니다.
iOS 10 이후 버전만 사용할 수 있으니 extension UNUserNotificationCenterDelegate에 @available(iOS 10, *) 을 추가해야 합니다.
{프로젝트이름}App.swift
import SwiftUI

@main
struct trainingApp: App {

    @UIApplicationDelegateAdaptor(AppDelegate.self) var appDelegate
    var body: some Scene {
        WindowGroup {
            ContentView()
        }
    }
}
앱을 실행합니다.
만일 실행시
FIRMessaging Remote Notifications proxy enabled, will swizzle remote notifications receiver handlers. If you'd prefer to manually integrate Firebase Messaging, add "FirebaseAppDelegateProxyEnabled" to you Info.plist, and set in to NO. Follow the instructions at: https://firebase.google.com/docs/cloud-messaging/ios/client#method_swizzling_in_firebase_messaging to ensure proper integration.
이런 로그가 뜬다면 일단 넘어갑니다.

실행하게되면 token이 만들어집니다.
특정 디바이스에서 종종 보인다는 로그인데 애플쪽에서 수정해야할 버그인것으로 얘기를 하고 있더라구요..
저도 아이패드에서는 로그를 봤고 아이폰13에서는 로그 못봤습니다!

token 복사 후

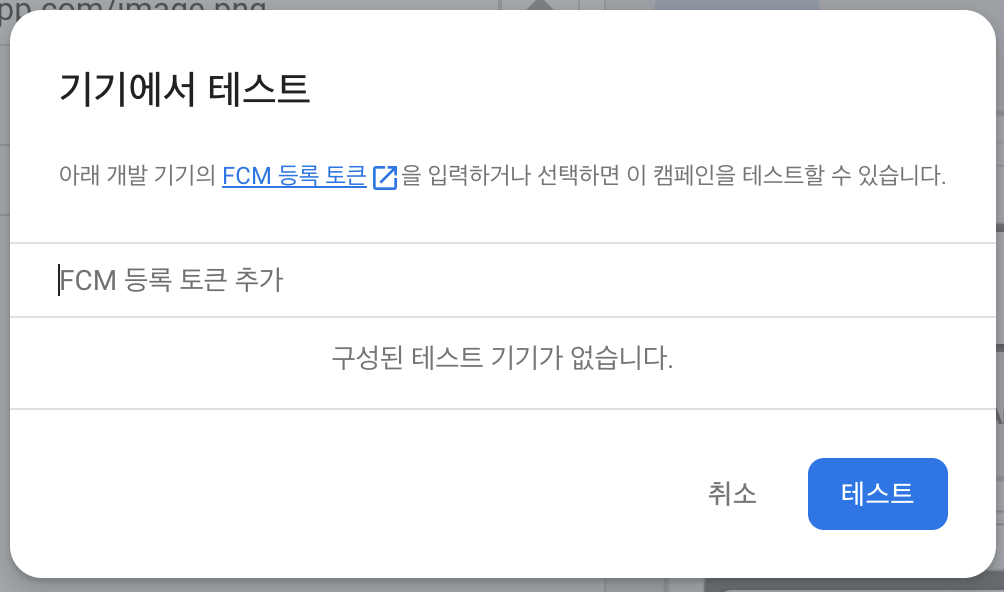
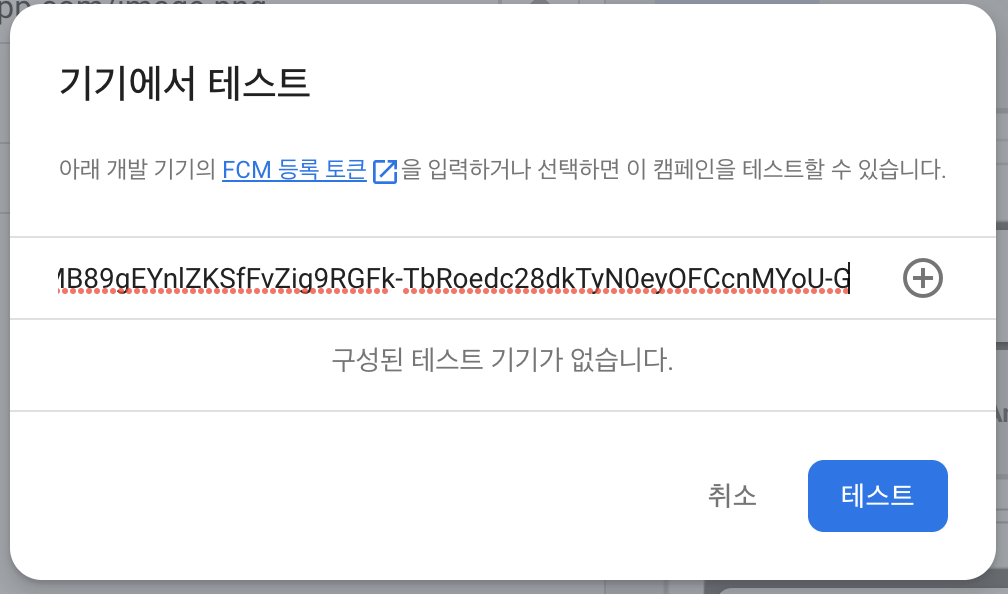
FCM 등록 토큰 추가에 적어줍니다. + 클릭 후 테스트 눌러주면 바로 알람이 보내집니다.
디바이스를 확인해 보면 알림이 뜹니다. 백그라운드로 돌려놔도 알림 잘 도착합니다.
아이패드, 아이폰 모두 잘 작동하였습니다.

로그가 하나 찍힙니다.
FIRMessaging Remote Notifications proxy enabled, will swizzle remote notifications receiver handlers. If you'd prefer to manually integrate Firebase Messaging, add "FirebaseAppDelegateProxyEnabled" to you Info.plist, and set in to NO. Follow the instructions at: https://firebase.google.com/docs/cloud-messaging/ios/client#method_swizzling_in_firebase_messaging to ensure proper integration.
라는 로그를 확인할 수 있는데
Info.plist에 FirebaseAppDelegateProxyEnabled를 NO로 설정하여 줍니다. Value는 0으로 변환되어 표시됩니다.

이렇게하면 로그가 사라지긴 하지만 제경우에는 코드를 여러번 수정하는경우에 수신이 안되는 일이 몇번 생겼었습니다.
그래서 혹시나하고 key 지우고 다시 새로만들어서 적용하니 그냥 잘 되더라구요.
또한 Boolean 으로 false 설정시 Debug모드에서만 푸쉬오고 Release모드에서는 안와서 String NO 로 설정해야한다고 합니다.
저는 디버그모드만 해서 확인해보진 않았습니다.

FirebaseAppDelegateProxyEnabled 참고하면 좋을만한: https://m.blog.naver.com/dbrwhdqja/221331687954
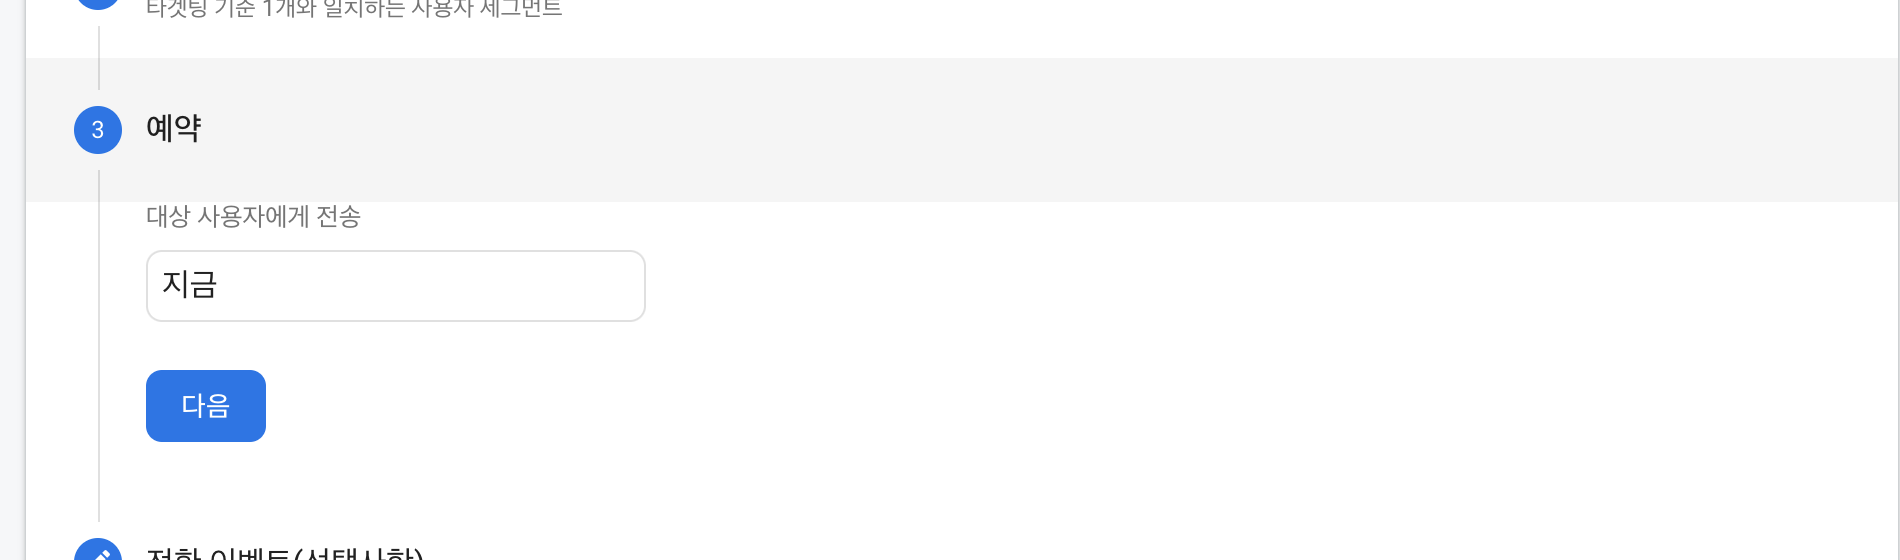
추가로 시간 / 알람까지 설정하기
앱 선택합니다.

예약에서 문제가 있을때까 가끔 있는데 이것도 줄곧 잘 되다가도 '지금' 으로 맞춰놓고 하면 가끔 로스앤젤레스 시간대로 맞춰지는 경우가 있습니다. 예를들면 13일 새벽 12시, 1시쯤에 '지금'으로 눌러서 하는 경우 12일 오전 6시, 7시 쯤으로 되어서 상태가 이미 완료됨으로 바뀌어서 알람을 못받는 경우가 있었습니다.
키, 값 설정해줍니다. 알림음 사용설정, 애플배지 사용설정, 배지 수 적어줍니다.

게시

DATA1, DATA2 수신 성공, 알람소리가 잘 들리고, 배지 1 표시

